Saturday Sitecore Learning: Sitecore with SIM
Last week, we had seen how to install Sitecore Instance Manager (SIM) tool. This week we will explore how to install Sitecore using SIM.
Among all the three (Web Application Installer, Manual Installation, and SIM) available options, to choose, SIM is the most preferred choice among all the Sitecore developers. The Main reason for that is the flexibility it provides in managing the Sitecore sites.
Let’s dive into step by step Sitecore installation,
Step 1:
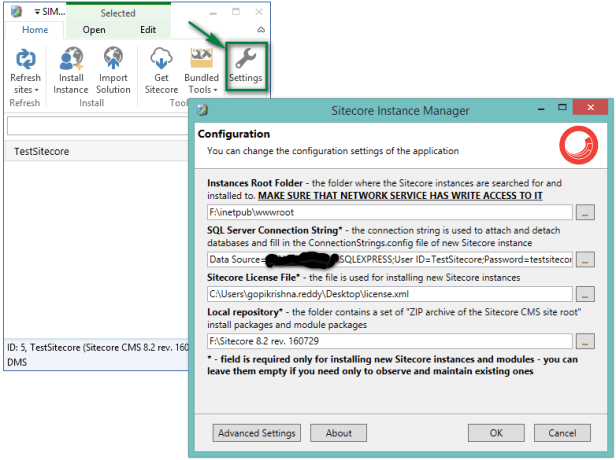
If we remember in the last post, while installing SIM, we configured 4 settings, these are very crucial while installing Sitecore. Before proceeding any further, we need to double check on these settings, and if it is required, make any necessary changes.
- Instance Root Folder
- SQL Server Connection String
- Sitecore License File
- Local repository (Make sure to place downloaded Sitecore zip folder inside this path)
To verify the 4 options, open the Home tab, and click on the Settings
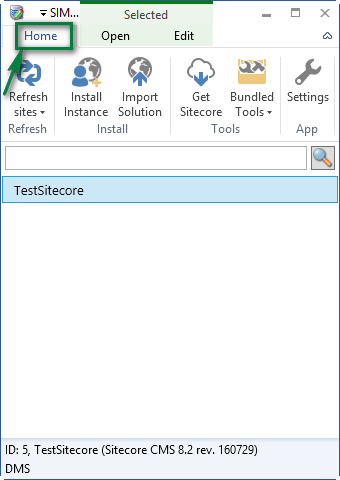
Step 2:
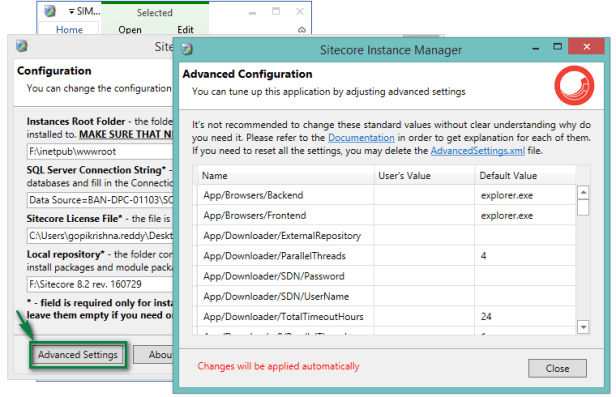
For additional settings, click on Advanced Settings. But before making any changes, please go through the documentation very carefully.
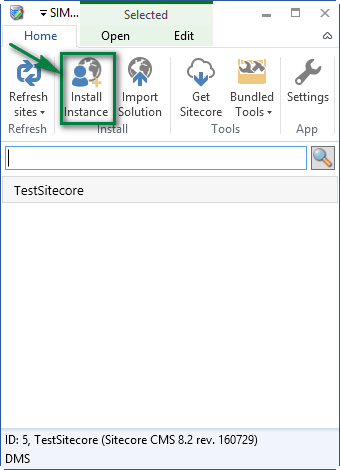
Step 3:
Click on the Install Instance
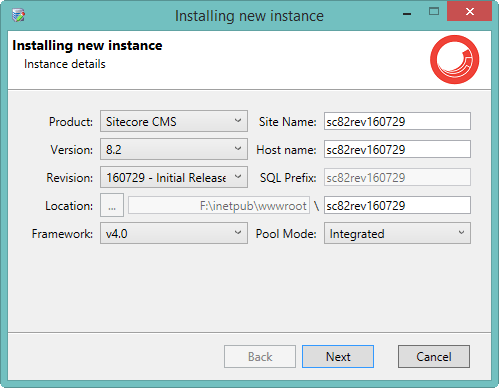
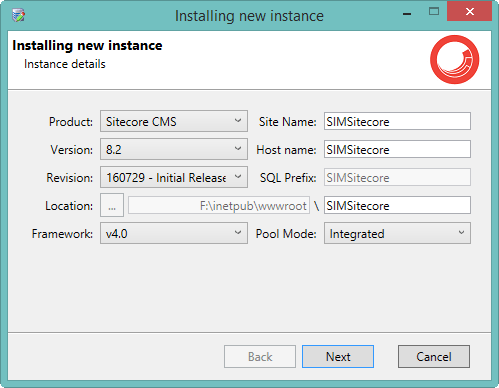
Step 4:
Make all the necessary changes, Site Name, and Host name. Location value is prepopulated from the settings Instance Root Folder. Click on Next to proceed.
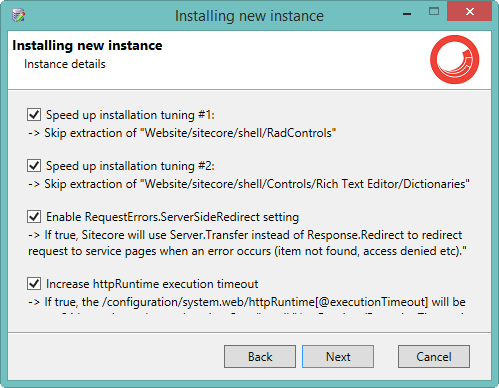
Step 5:
Some more options for instance details. Better to keep the default values, until and unless you are fully aware of the modifications. Click on Next to proceed.
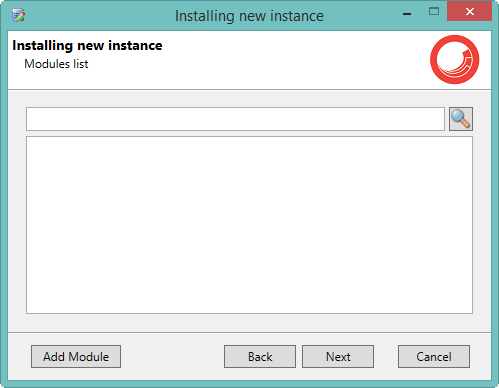
Step 6:
If any of the Sitecore modules are present in the Instance Root Folder, those all are going to be listed here. We can select the modules, to install with Sitecore. Click on Next to proceed.
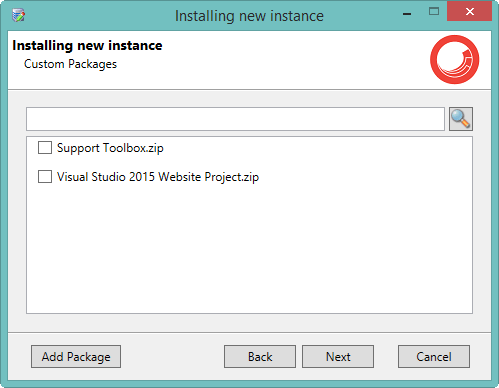
Step 7:
You can select any available custom packages, and click on Next to proceed.
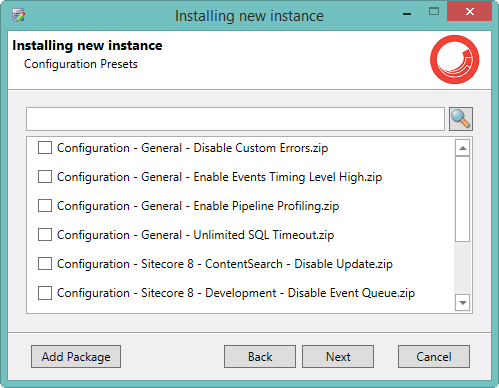
Step 8:
Select any Configuration presets, and click on Next to proceed.
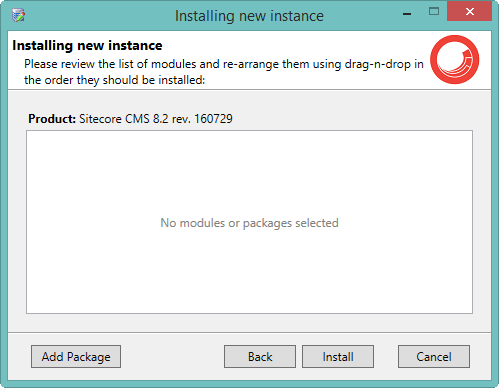
Step 9:
Finally all the selected modules, and custom packages, will be listed for review. Make any final modification and click on Install.
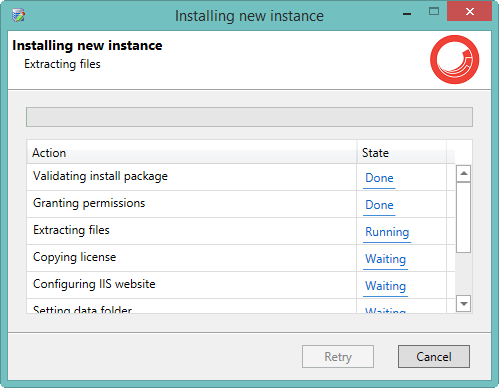
Step 10:
Now Sitecore is getting installed.
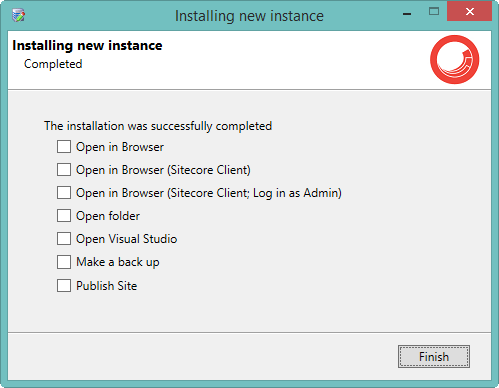
Step 11:
Once the installation is completed, you can check the listed options, and click on Finish.
See you on next Saturday.
Happy Learning 🙂
