![]()
Version : Sitecore Experience Platform 9.0 rev. 171219 (9.0 Update-1)
Topology: XP Single (XP0)
Solr Version: Solr 6.6.2
Let’s split the Sitecore 9 installation into three parts,
- Look at Prerequisites
- Install Solr with HTTPS
- Install Sitecore 9 with Sitecore Installation Framework (SIF)
In this post, let’s explore installing Solr, and setting up HTTPS.
Java Runtime Environment (JRE)
Solr requires Java Runtime Environment (JRE) version 8.8 or later available on the machine.
Check whether Java is already installed or not from command prompt. Open command prompt in admin mode, and run the following command,
java -version

If you need to install JRE, download the latest version (at present 9.0.4) from here

Run the downloaded exe file, and follow the steps to complete the installation.

Once the installation completes, verify it using the java -version command as shown before.
- We need to update the Environment Variables, in Windows 10, search for environment variables, and select the edit the system environment variables


Variable Name: JAVA_HOME, Variable Value: path for your java installation, in my case c:\Program Files\Java\jre-9.0.4


By now we are all set with JRE, let’s start Solr installation.
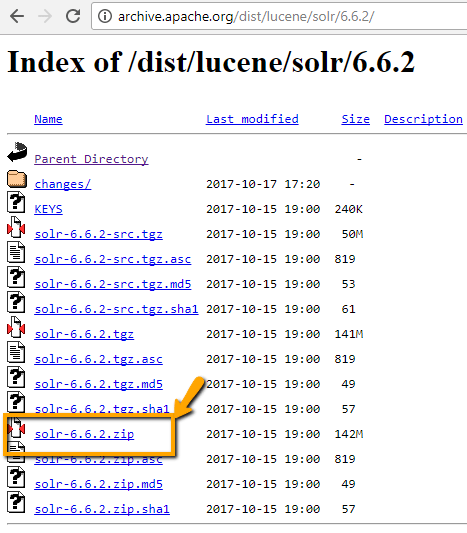
Step 1: Download the Solr-6.6.2.zip file from here
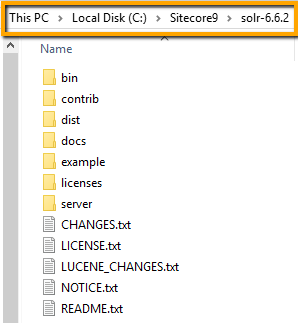
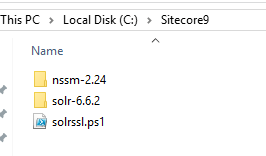
Step 2: Extract the zip file and copy the files to a location, say C:\Sitecore9\solr-6.6.2
Step 3: Now we need to set up SSL certificate, there are multiple ways to do this, but easiest among all is to use script from here, Thanks to Kam Figy.
- Download the file and save it as powershell script
solrssl.ps1from GitHubGist - Open the script file and modify the keytool.exe path (line number 37), in my case
C:\Program Files\Javajre-9.0.4\bin\keytool.exe

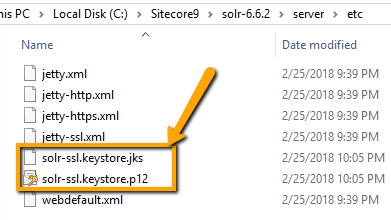
- Open the PowerShell in admin mode, and run the following command. (navigate to script path), and path passed as a parameter is where the newly keystore file gets stored.
.solrssl.ps1 -KeyStoreFile C:\Sitecore9\solr-6.6.2\server\etc\solr-ssl.keystore.jks

Observe the Next Steps, we need to copy the new keystore to $SOLR_HOME\server\etc, but we are already done with the step, as we have directly gave the path to the command itself.
- As next step, we need to uncomment few lines from
C:\Sitecore9\solr-6.6.2\bin\solr.in.cmd


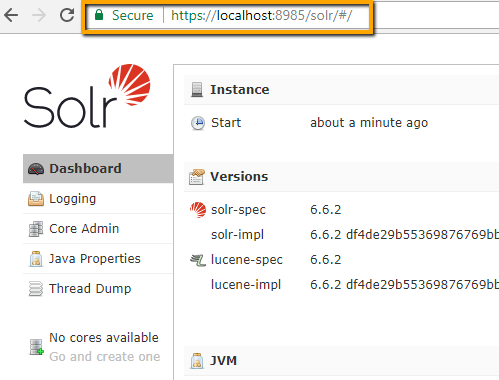
Step 4: Now let’s start Solr from command line. Open command prompt, navigate to C:\Sitecore9\solr-6.6.2\bin and execute the following command, (I am using 8985 port)
Solr start -p 8985
browse the url, with https https://localhost:8985/solr/#/
Step 5: At this point, we are all set with Solr + SSL, but every time we need to start the service manually. Let’s automate it using, Non-Sucking Service Manager (NSSM).
- Download the latest NSSM version from here
- Extract and copy it a folder, let’s say
C:\Sitecore9
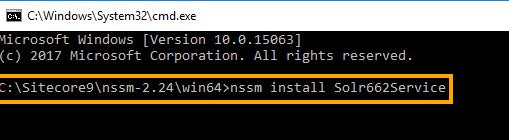
- Open the command prompt in admin mode, and navigate to
C:\Sitecore9\nssm-2.24\win64and run the following command,nssm install Solr662Service


- Now open services (Windows + R, and
services.msc), navigate to newly created service, and Start it.
- Browse the url, with https
https://localhost:8985/solr/#/
We are good with Sitecore prerequisites, and Solr with SSL.
Next… Sitecore Installation with SIF.
Happy Learning 🙂
