Sublayouts/Renderings
In the previous post, we had looked into Basic layout, which holds common level HTML tags, and placeholders for components. Now let’s look into what are components, and how to create them.
Components are called as Sublayouts in ASP.NET web-forms context, and Renderings in ASP.NET MVC context. They are independent of the page items, so that they can be placed on any number of pages, any number of times.
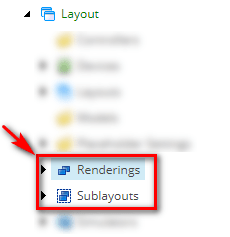
In Sitecore tree, Sublayouts and Renderings reside under Layout/Sublayouts, and Layout/Renderings nodes respectively.
Placeholders
Before creating components, let’s briefly look about Placeholders. Placeholders are identified by a key, and used for placing the components in certain position on the page. Components are added to the page, using the key. In run time, Sitecore uses this placeholder key, to render components on to the page.
To add a placeholder, open the previously created BasicLayout.aspx file, and add a placeholder key as below,

How to create a Sublayout
Step 1:
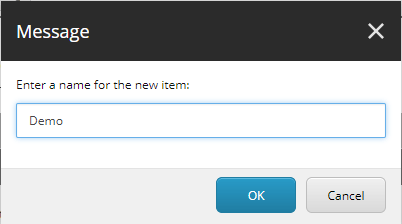
Login to Sitecore, add a Demo Sublayout folder under Sublayouts, to better organize the components,

Step 2:
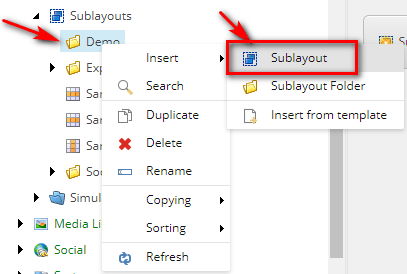
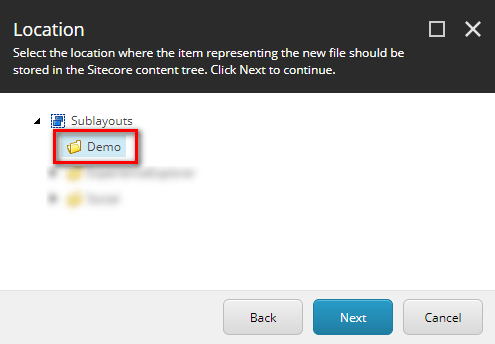
Add a Demo Sublayout under Demo folder,


Step 3:
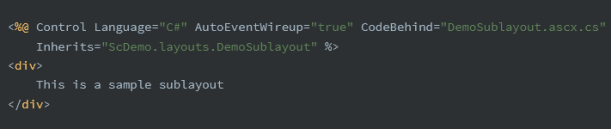
Open VS solution, add Sublayouts folder, and add DemoSublayout user control.


Step 4:
Add some sample text, to the user control as below,
Step 5:
Build and publish the code, so that code moves to deploy location,
Step 6:
Again login to Sitecore, open the DemoSublayout item, and verify file path in Path field.
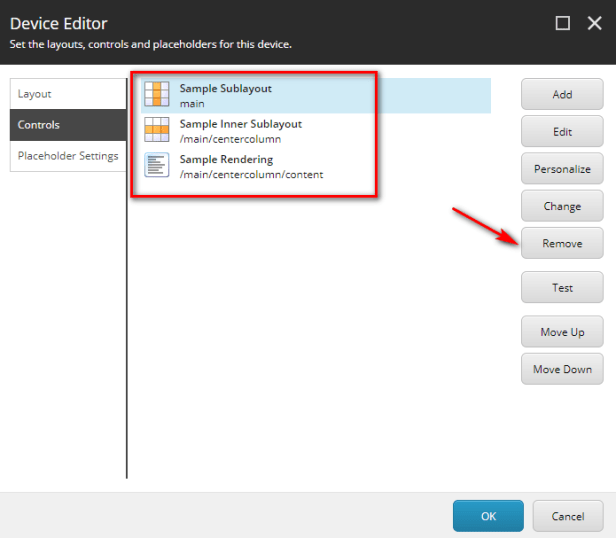
Step 7
Now goto Home item presentation details, and delete the existing components. Add the DemoSublayout component with content placeholder key.


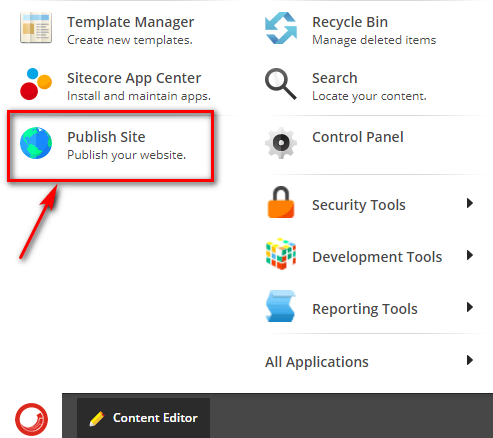
Step 8
Publish Sitecore items, and load the home page,
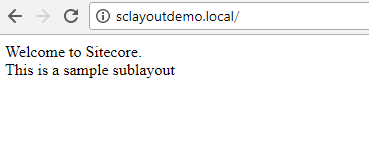
Happy Learning 🙂
