In learning series, till now we have seen what is Sitecore, resources, and certification information. From now onwards, we will look into Initial Setup, installation, and implementation parts.
Sitecore installation can be done in three ways
- Sitecore web application installer
- Sitecore Zip (manual installation)
- Sitecore Instance Manager (SIM)
Sitecore installation consists of mainly three steps.
- DB Setup
- Web site Deploy location
- IIS configuration for site
In this post, we will look into first option.
Sitecore web application installer:
Among all the three options, web application installer is the easiest one, as it is through exe. We just need to run .exe file and follow the instructions.
Before installing Sitecore, we need to have following installed, with administrator access
- .NET framework 4.5 and above (for Sitecore 8.2)
- IIS
- Visual Studio – Community/Professional/Enterprise
- MS SQL Server or Oracle
- Mongo DB
You can find more details here about Sitecore compatibility.
Download latest Sitecore exe file -version (Sitecore 8.2 rev. 160729) from dev.sitecore.net.
Installation Steps
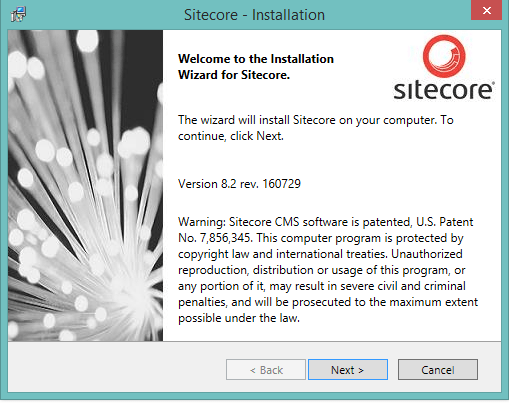
Step 1: Unzip the downloaded file, and run the Sitecore 8.2 rev. 160729.exe file, and click on Next ->.
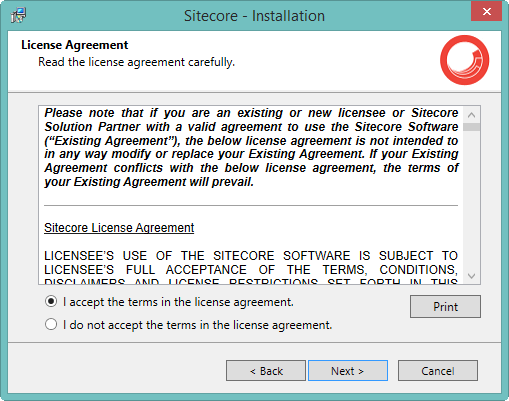
Step 2: Accept the license agreement, and click on Next ->.
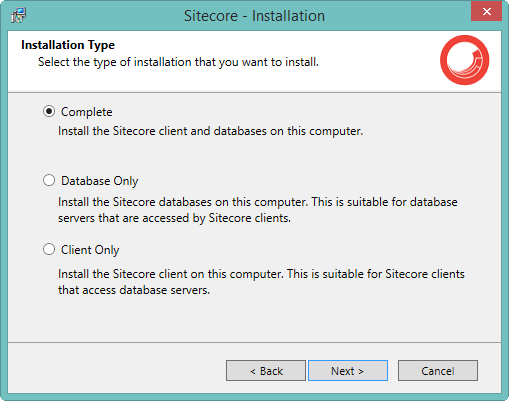
Step 3: Select the type of installation. Here we have three options,
Complete: both Sitecore web site and database.
Database Only: It is useful when we already have web site setup, but need fresh DB.
Client Only: It is useful if we are using the database from any other common server with in the organization.
If you are trying to install in personal mission then choose Complete option otherwise based on requirement choose the option and click on Next ->.
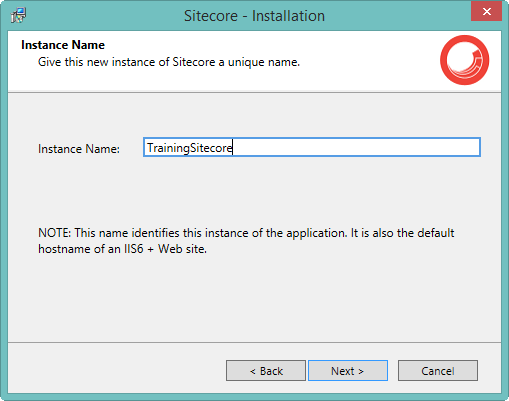
Step 4: Give a unique name for this new instance and click on Next ->.
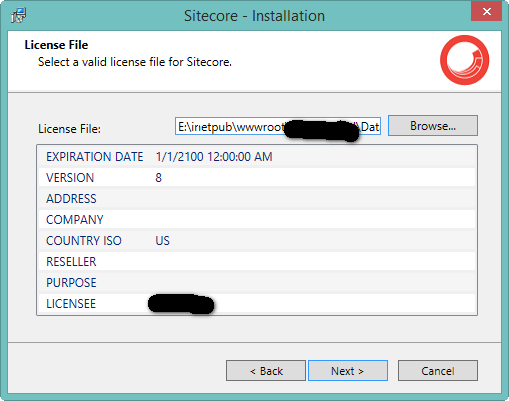
Step 5: Select the Sitecore license file. I do not have much information on how to get the license file. I am using my firm (Sitecore Platinum Partner) license file. I guess for individual developer, there is a Student trail license which is valid for one month.
Once license file is selected, it will auto populate the below details. Then click on Next ->.
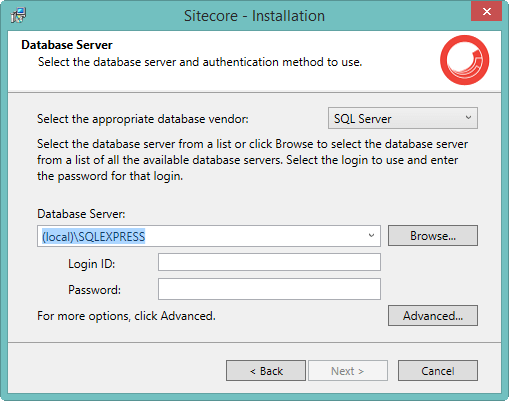
Step 6: Both SQL Server and Oracle are supported. Select the database vendor from dropdown, give the Database server name, and credentials. On click of Advanced settings, we can change Database Prefix, which will be defaulted to previously given Sitecore instance name. Imp Note: Login Id should have admin access enabled in DB server.
Click on OK to proceed.

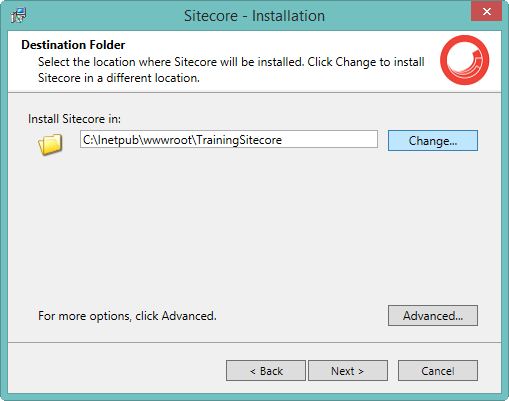
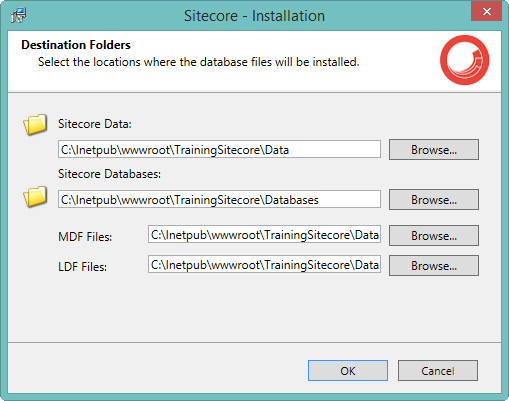
Step 7: Select the IIS root path/wwwroot folder location for Sitecore installation. From Advanced settings, can also select locations for Data, and Database. Click on Next -> to proceed.
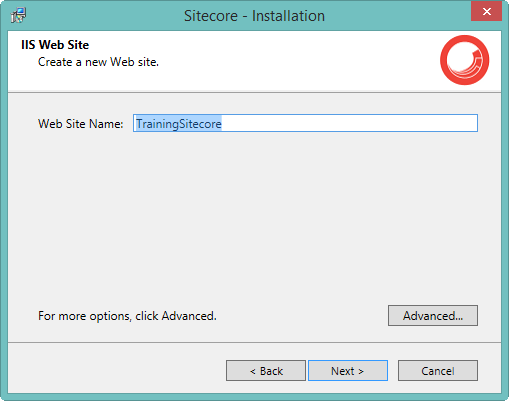
Step 8: Give web site name, and click on Next -> to proceed.
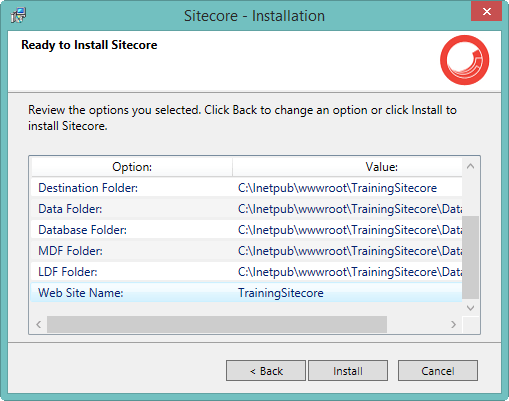
Step 9: At last one more time review all the options, and click Install.
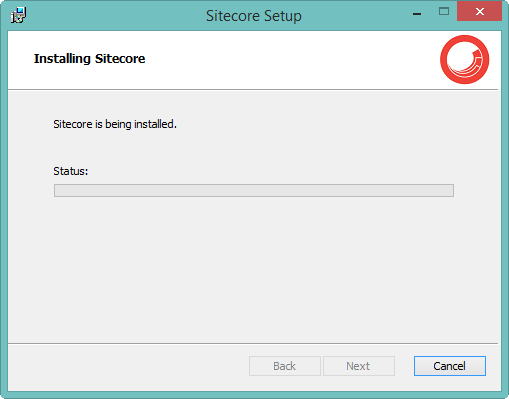
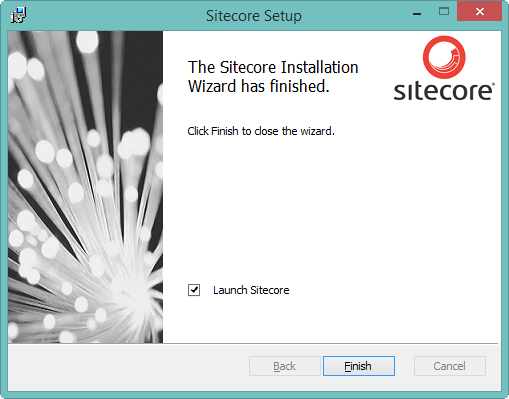
Step 10: Sitecore will take some time to get installed, and after finishing the installation, select the Launch Sitecore check box, and click on Finish.
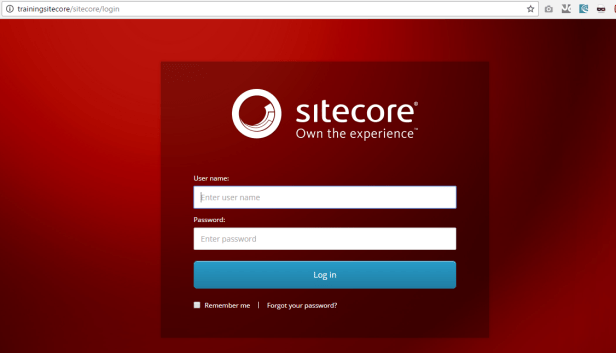
Step 11: Now, you can see Sitecore home page in your default browser. You can login with default Sitecore credentials,
User name: admin
Password: b
Cheers on successful installation.In my next post I will explain about Manual Installation.
Happy Learning 🙂
